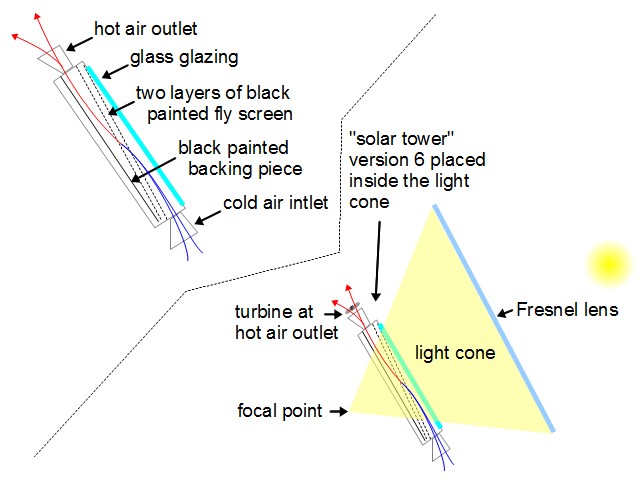
I finally managed to get a paper turbine to turn with version 6. Instead of using a solar tower, I decided to keep the overall temperatures in the solar energy to heat conversion area lower to make construction more feasible. To that end I built a mini screen solar air heater and put it further from the fresnel lens' focal point (see the diagram below.)

Mini solar tower (a mini screen solar air heater) mounted in place so that the fresnel lens can focus light onto it.
Mini "solar tower" (screen solar air heater) mounted in place.
Diagram illustrating the screen solar air heater and its location in the light cone from the fresnel lens.
Screen solar air heater and its placement in the light cone.

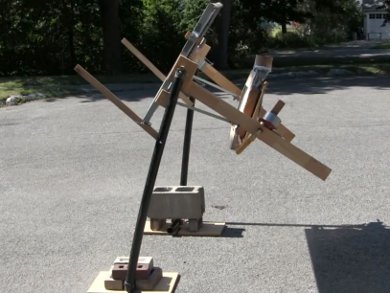
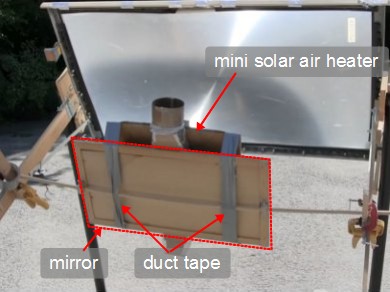
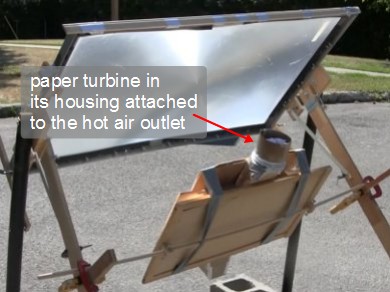
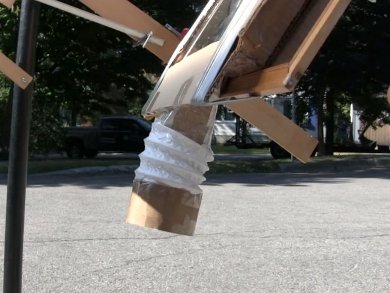
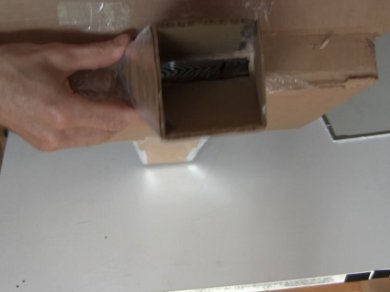
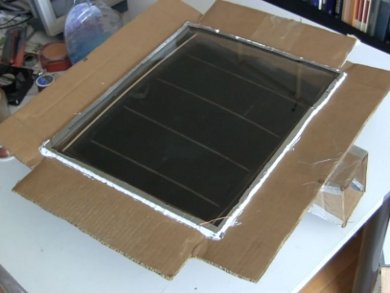
To keep the solar air heater at the proper location at all times, I mounted it to the mirror of my fresnel lens and mirror solar cooker setup (see photos below.)

The complete setup showing the fresnel lens and the mini screen solar air heater attached to the mirror.
The setup. Mini screen solar air heater attached to mirror of the fresnel lens and mirror solar cooker.
Rear view showing how the mini solar air heater was duct taped to the mirror to hold it at the proper place in the fresnel lens' light cone.
Rear view showing how the mini solar air heater was duct taped to the mirror.

Testing with the paper turbine and PC fan

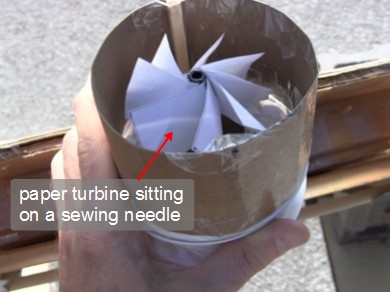
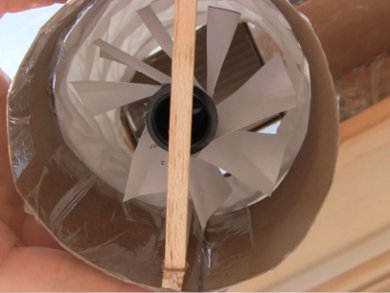
Test 1 - Paper turbine at hot air outlet

The paper turbine turned fairly rapidly at the hot air inlet as a result of the exiting hot air.

Close-up of the paper turbine in its housing attached to the mini screen solar air heater's hot air outlet.
Close-up of paper turbine in its housing.
Full view of the paper turbine in its housing attached to the mini screen solar air heater's hot air outlet.
Paper turbine at hot air outlet.

Test 2 - Paper turbine at cold air inlet

The paper turbine turned, but much more slowly, at the cold air outlet as a result of the entering cold air. This showed that the strength of the incoming cold air is less than that of the exiting hot air.

Close-up of the paper turbine in its housing attached to the mini screen solar air heater's cold air inlet.
Close-up of paper turbine from bottom.
Side view of the paper turbine in its housing attached to the mini screen solar air heater's cold air inlet.
Paper turbine at cold air inlet.

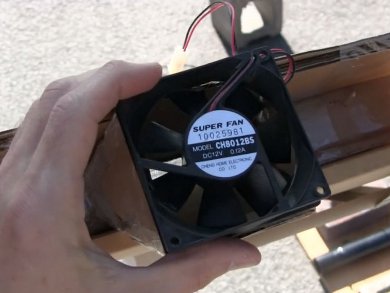
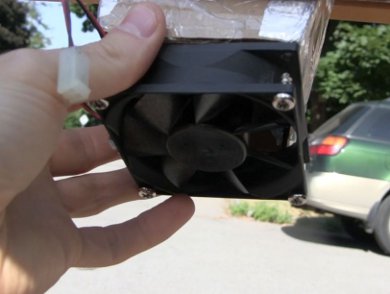
Tests 3 and 4 - PC fan at hot air outlet and cold air outlet

The PC fan did not turn at all at either the inlet or the outlet. I was able to turn it easily with my finger, so it wasn't being prevented by anything.

PC fan attached to the mini screen solar air heater's hot air outlet.
PC fan at hot air outlet.
PC fan attached to the mini screen solar air heater's cold air inlet.
PC fan at cold air inlet.

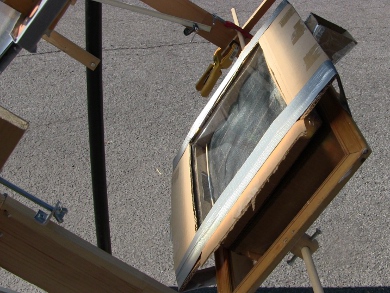
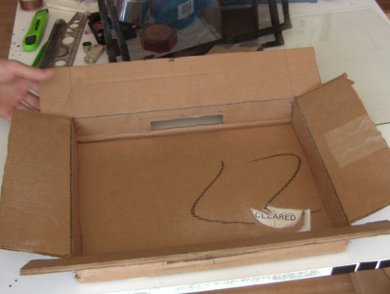
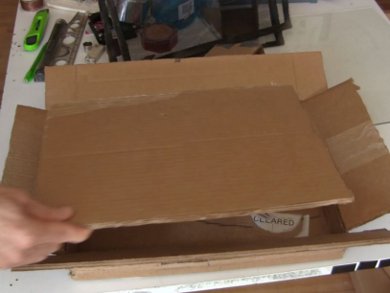
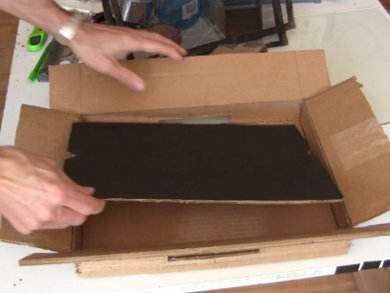
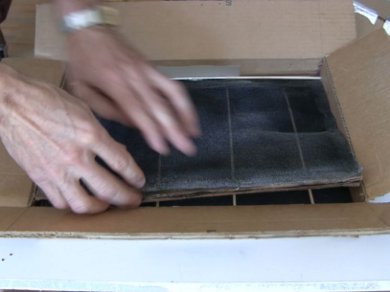
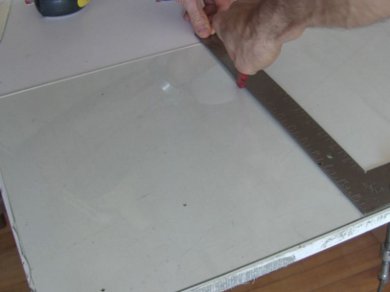
Construction of the mini screen solar air heater

Click on the photos for larger versions.

The mini solar air heater's homemade box.
The homemade box.
And extra layer of cardboard was placed in the back of the mini screen solar air heater for extra insulation.
Extra layer of cardboard.
A black painted piece of cardboard was placed in the back of the mini screen solar air heater.
Black painted backing.
Next, dowels were inserted to hold the shape of the two fly screens and the the fly screens were placed in the mini screen solar air heater.
Placing the screens above the dowels.
Showing that the outlet to the mini screen solar air heater is behind the screens.
Outlet hole is behind the screens.
Adding the air inlet and outlet to the mini screen solar air heater.
Adding the inlet and outlet.
Cutting the glass for the glazing for the mini screen solar air heater.
Cutting the glass.
The glass in place for the mini screen solar air heater.
The glass in place.

Video - Mini Solar Tower with Fresnel Lens Ver. 6 Screen Solar Air Heater

Here's a video I made of the setup, all testing and the construction.

More topics

rimstar.org - Share your project on rimstar.org - About - Privacy policy - © 2020 Steven Dufresne
Contact: